
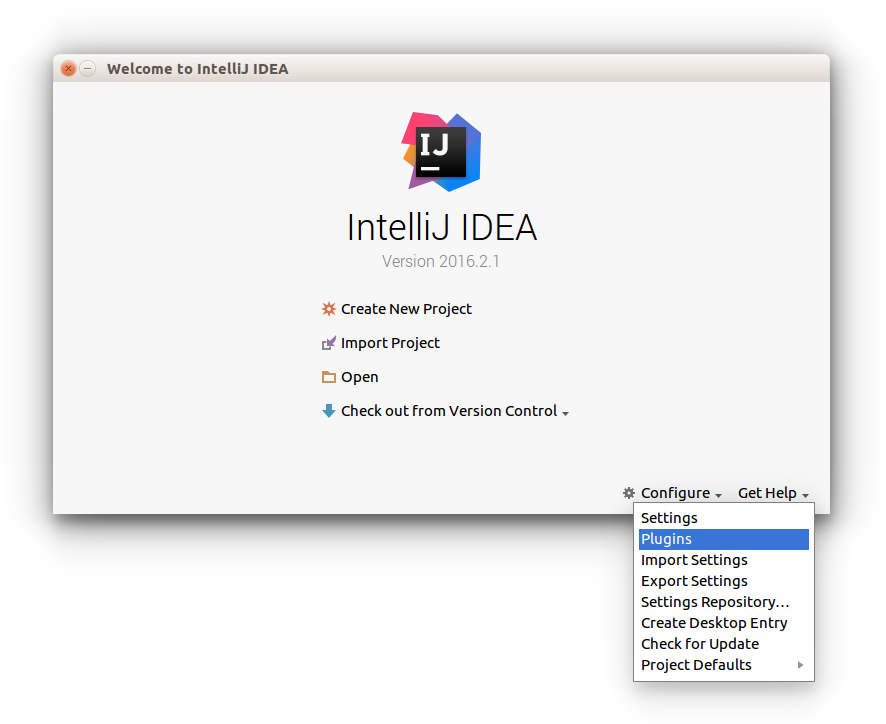
The first time you run IntelliJ select the Plugins option from the Configure menu at the welcome screen:
In the plugins window, press the Browse Repositories... button and search for cursive:
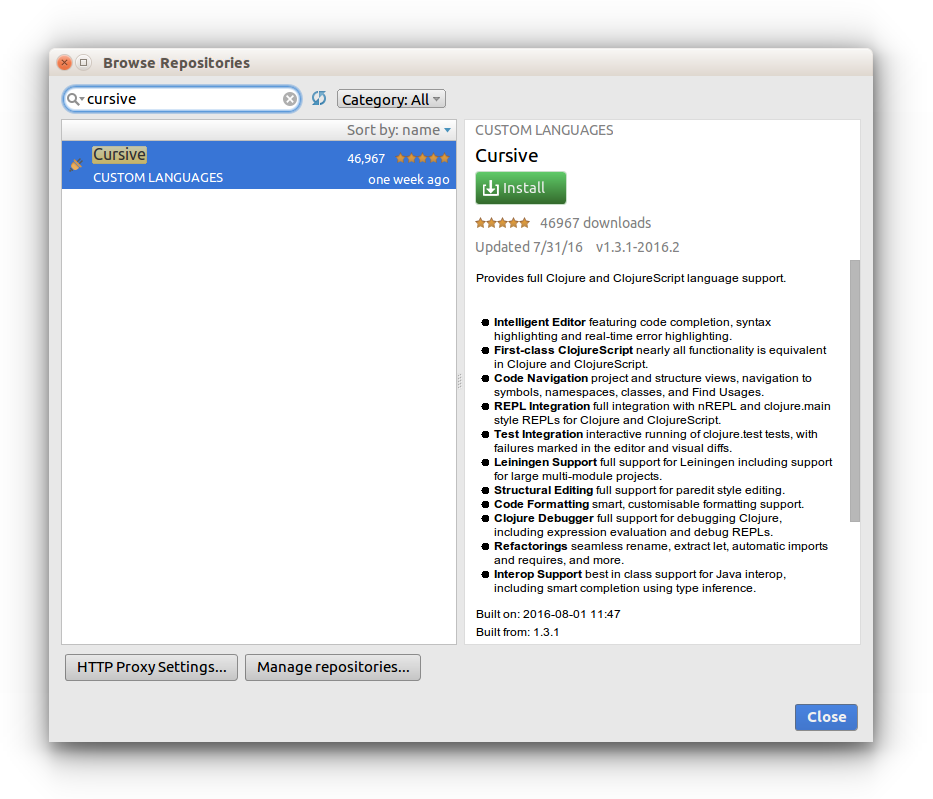
Install the Cursive plugin using the green Install button. Restart IntelliJ when it prompts you to.
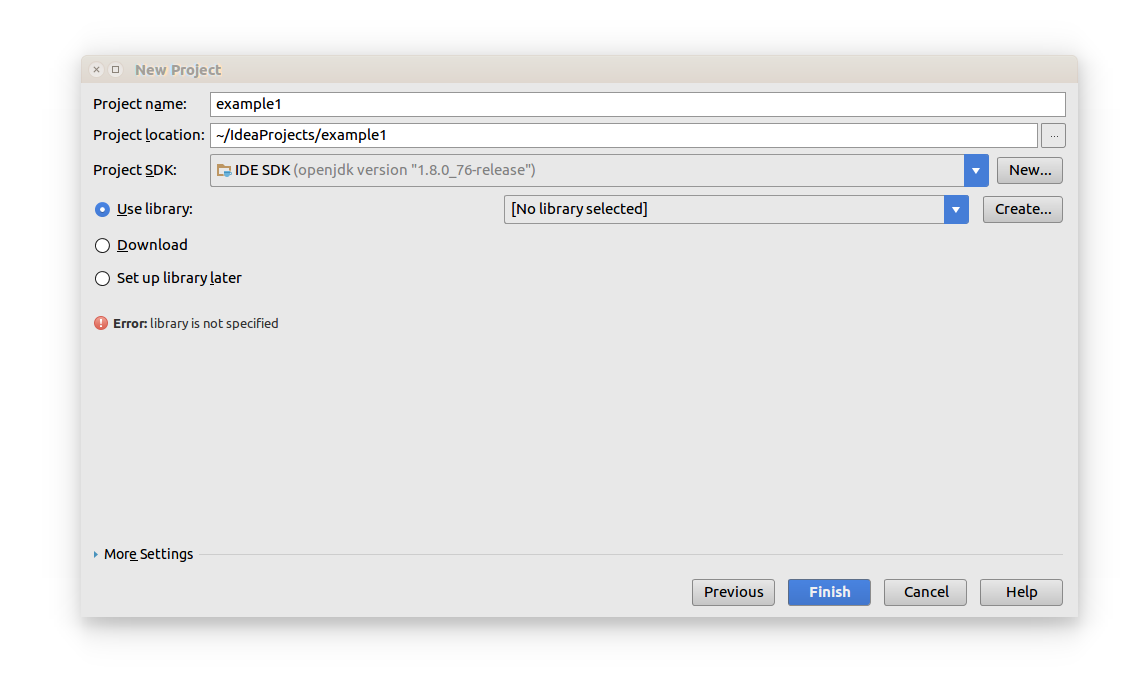
Specify the Project name. Select the Use library radio button and press the Create... button.
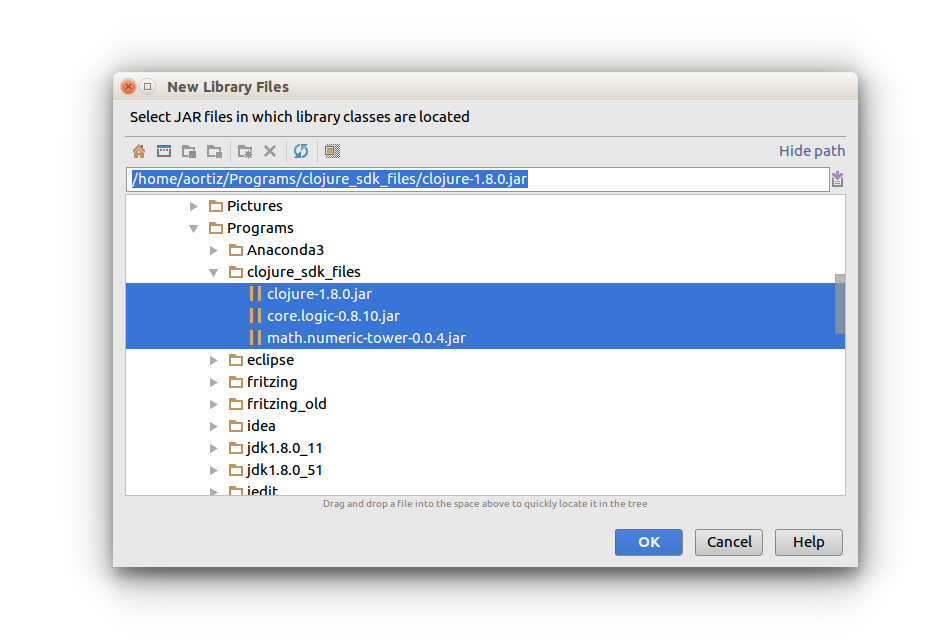
In the New Library Files window, go to the clojure_sdk_files directory (from step 1) and select the three JAR files contained there:
clojure-1.8.0.jar
core.logic-0.8.10.jar
math.numeric-tower-0.0.4.jar
Press the OK button.
Now press Finish in the New Project window.
If this is the first time you create a Clojure project, a Licence Required window will appear.
You’ll first need to request a licence for Cursive. Follow the previous link, and in the Choose licence type option select Non-Commercial because you’ll be using Cursive for student work (and otherwise you’d have to pay $99 USD for it). You’ll receive the licence in your e-mail.
Once you’ve got the licence, go back to IntelliJ’s Licence Required window, push the Enter Licence button and copy/paste your Licence Certificate.
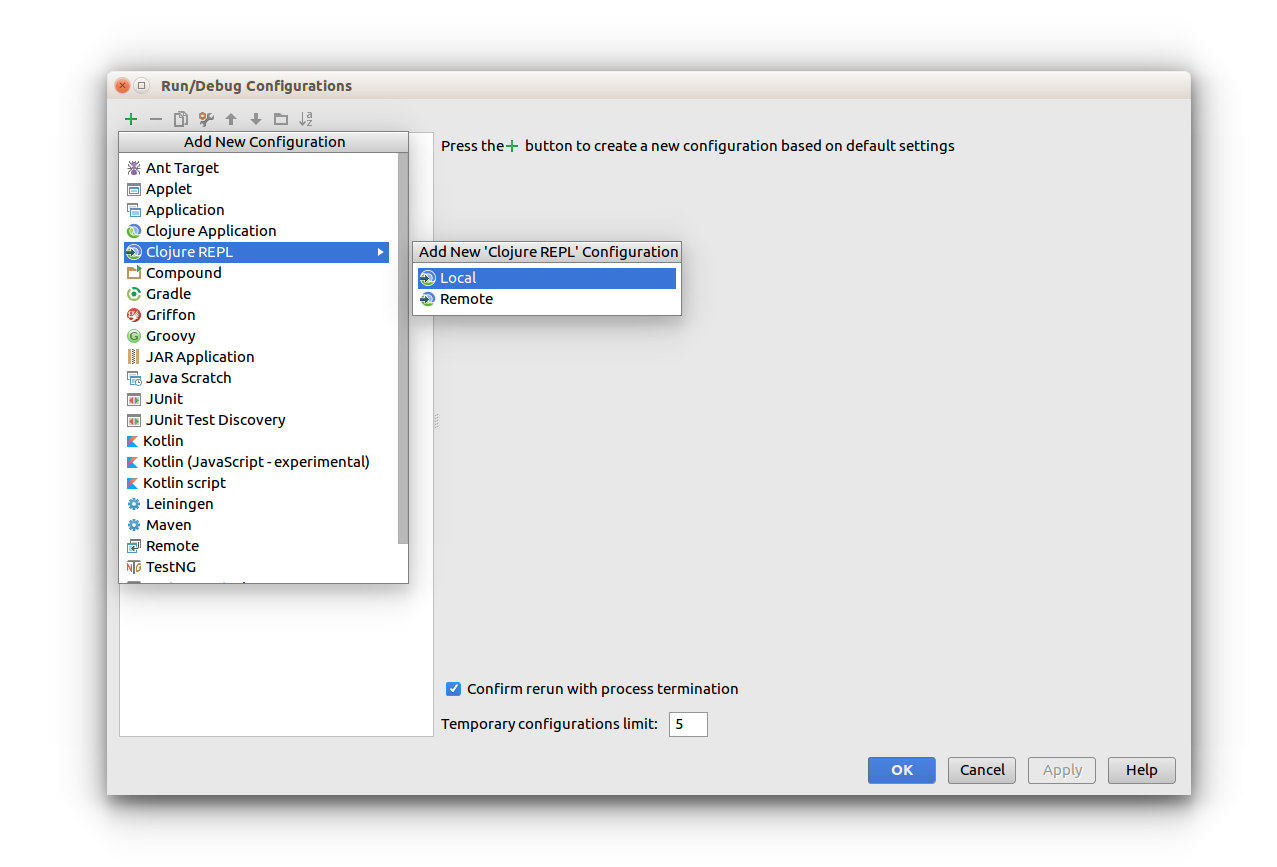
In IntelliJ’s main menu choose Run and then select Edit Configurations... Press the green plus symbol and select Clojure REPL and Local REPL.
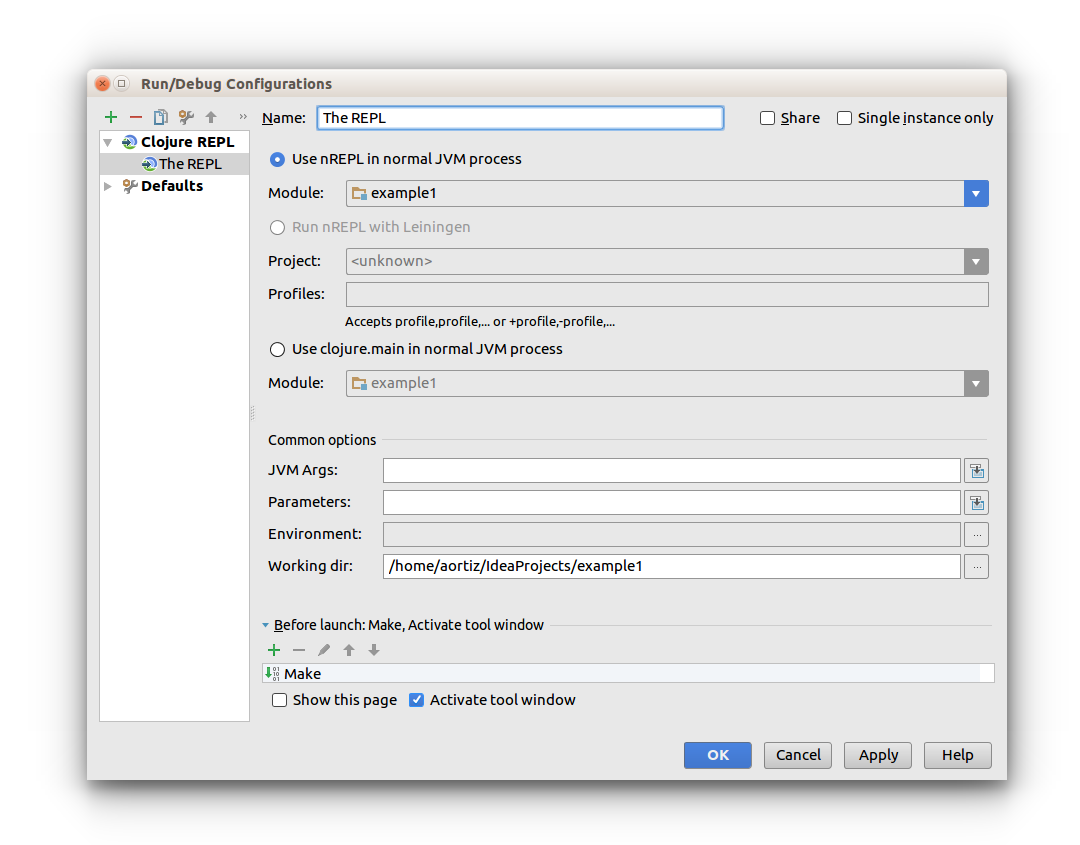
Specify a Name (for example The REPL) and select the Use nREPL in normal JVM process radio button. Press the OK button.
src directory. Then, from the main File menu select New followed by File. Type the file name in the dialog window. NOTE: Clojure source files should have a .clj extension.
Ctrl+Shift+F10, or you can also use the editor’s context menu.