
These instructions allow you to install Mono C# 4.2 and MonoDevelop 5.10 on Ubuntu 16.04.
Install the MonoDevelop related tools in your system. At the terminal type:
sudo apt-get install monodevelop mono-utils
Verify that the C# compiler was installed correctly. Type at the terminal:
mcs --version
You should see the following message:
Mono C# compiler version 4.2.1.0
Now check that the IL assembler is also installed. At the terminal type:
ilasm --version
The output should be:
Mono ILasm compiler version 4.2.1.0
monodevelop and press Enter at the Unity launcher or terminal.
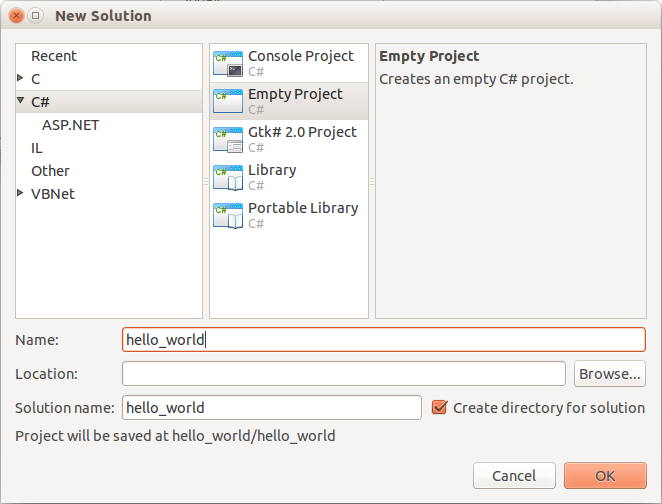
From the IDE’s menu, select File/New/Solution.... In the New Solution dialog window, select C# and choose the Empty Project icon. Type your project’s name (for example: hello_world) in the corresponding text field. You may also specify the project’s location. If you don’t, the project’s directory will be placed under your home folder. Press the OK button.
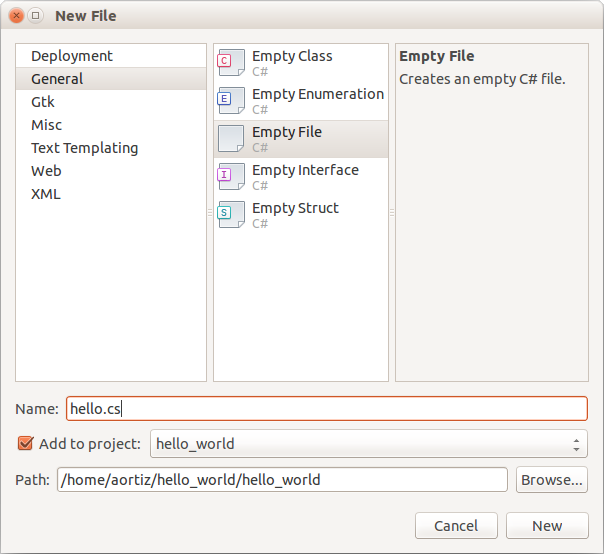
Type Ctrl+N to create and add a new C# source file to your project. In the New File dialog window, check first the Add to project box. Afterwards, select General and choose the Empty File icon, then type the name for your new file (for example: hello.cs) in the corresponding text field. Finally press the New button.
In the hello.cs editor window, copy the following program and save it using Ctrl+S.
// The "Hello World!" program in C#.

using System;

namespace HelloWorld
{
    public class Hello
    {
        public static void Main ()
        {
            Console.WriteLine ("Hello World!");
        }
    }
}
Type Ctrl+F5 to run the program. You should see the following text in the IDE’s Application Output pad:
Hello World!